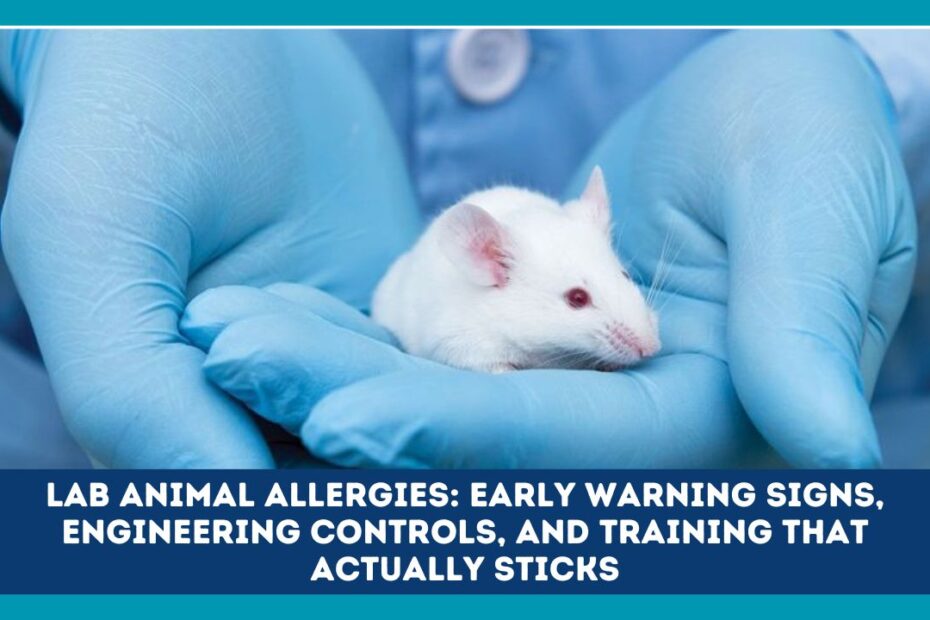
Lab animal allergy (LAA) is one of the most common occupational health issues in animal research facilities. It can start with mild symptoms—like a runny nose during cage changes—and quietly progress to asthma if exposures continue. The good news: most risk can be prevented with the right mix of engineering controls, work practices, PPE, and training that people actually remember. This guide shows you how to spot early signs, harden your environment against allergens, and design training that drives real behaviour change.
What Is Lab Animal Allergy (LAA)?
LAA is an immune response to proteins found in animal dander, urine, saliva, and serum, as well as bedding dust and contaminated surfaces. Common species sources include mice, rats, rabbits, guinea pigs, cats, dogs, and nonhuman primates. Exposure pathways are typically inhalation and skin/eye contact, especially during cage handling, bedding changes, or cleaning.
Early Warning Signs You Should Never Ignore
Catching LAA early prevents escalation. Encourage workers to report symptoms immediately, even if they seem minor or sporadic.
Red-flag symptoms
- Nose/throat: sneezing, runny or stuffy nose, sore throat, post-nasal drip
- Eyes: itchy, watery, or red eyes, light sensitivity
- Skin: itchy rash, hives where exposed skin contacted fur/bedding
- Lungs: cough, chest tightness, wheezing, shortness of breath—especially during or after animal work
- Timing clues: symptoms ease on weekends/holidays and return at work
What to do—fast path
- Stop exposure (step out of the room, wash hands/face, change gloves/gown).
- Notify the supervisor and Occupational Health the same shift.
- Document tasks done in the last 24–48 hours (species, procedures, areas, PPE used).
- Seek evaluation through the medical surveillance program; consider spirometry and allergy testing if recommended.
- Interim controls (e.g., N95/P100, work at HEPA-filtered changing stations, adjust duties) until follow-up.
Quick rule: eye itching + sneezing during cage changes = suspect allergen exposure until proven otherwise.
Risk Factors You Can Actually Change
- High allergen tasks: cage dumping, bedding changes, handling males, soiled cage transport, animal room cleaning
- Poor airflow: rooms without directional airflow, broken HEPA units, or overcrowded racks
- Dusty practices: shaking bedding, dry sweeping, dumping waste from height
- PPE gaps: no respiratory protection, exposed forearms, reusing contaminated gowns
- Workload/tempo: rushing, long cage-change runs, staffing shortages
Engineering Controls: Build the Barrier First
Engineering controls reduce allergen levels before they reach workers. Prioritise these for sustainable risk reduction.
1) Facility air & pressure
- Maintain negative pressure in animal rooms relative to corridors.
- Ensure 6–15+ air changes per hour (ACH) as specified by your facility’s design criteria.
- Verify directional airflow (smoke tests), and log readings.
- Use HEPA filtration where appropriate; maintain filters per schedule.
2) Ventilated housing & workstations
- Individually Ventilated Cages (IVCs) with HEPA supply/exhaust—keep them sealed; check gaskets and latches.
- HEPA-filtered cage changing stations or biological safety cabinets (Class II) for cage work and animal handling.
- Downdraft necropsy tables for procedures that generate aerosols/dust.
3) Dust and waste controls
- Damp bedding before dumping or use tip-in techniques to minimise plume height.
- Sealed transport carts for soiled cages; avoid open bins.
- Local exhaust at bedding disposal points; avoid dry sweeping—use HEPA vacuums.
4) Cleaning & maintenance
- Use wet methods for floors and surfaces.
- Schedule preventive maintenance: certify BSCs, validate IVC airflow, replace seals, and calibrate sensors.
- Keep spares (HEPA prefilters, gaskets) on hand to avoid downtime.
Administrative Controls: Make Good Habits Inevitable
- Task design: batch work to limit time in high-exposure activities; rotate duties when possible.
- Standard operating procedures (SOPs): step-by-step for cage changes, bedding disposal, transport, and cleanup.
- Medical surveillance: pre-placement screening, periodic questionnaires, respiratory fit testing, and post-exposure follow-up.
- Housekeeping: posted schedules and checklists; no eating/drinking in animal areas.
- Signage & zoning: clear PPE zones, allergen warning signs, “BSC in use” indicators.
- Reporting culture: simple, no-blame symptom reporting pathway; anonymous option available.
Personal Protective Equipment (PPE): Close the Gap
PPE is the last line—use it correctly and consistently.
- Respiratory protection: N95 for routine work; P100 or PAPRs for high-dust tasks or symptomatic workers (per OH guidance).
- Eye/face: wraparound safety glasses or face shield when splashes are possible.
- Skin protection: long-sleeved lab coat or disposable gown, sleeve covers if forearms contact animals/bedding.
- Gloves: change between rooms and whenever visibly contaminated.
- Donning/doffing: posters at entry/exit; hand hygiene before and after glove use.
- Storage & reuse: never reuse disposable respirators unless facility policy allows and contaminants are controlled; store clean PPE away from animal rooms.
The “Stickiness” Problem: Training That People Remember
Annual slides don’t change behaviour. Use adult-learning strategies to make training practical, short, and repeatable.
Design principles
- Start with why: open every session with a real incident story (no names) linking symptoms to tasks.
- Microlearning: 5–10 minute modules at the point of work (e.g., at the cage changing station).
- Show, do, coach: demo the technique → tech performs → coach gives one-minute feedback.
- Single critical behaviour per module: e.g., “Keep cage inside the airflow sash during transfer.”
- Friction fixes: teach small tweaks that immediately reduce dust (e.g., lower dump height, dampen bedding).
- Buddy checks: 15-second PPE buddy check before high-exposure tasks.
- Nudges: floor footprints at BSC, “sash up to here” labels, colour-coded PPE bins.
- Refreshers triggered by data: if an area logs increased symptoms, do a pop-up refresher within one week.
A 30-day behaviour change sprint (sample)
Week 1: Kickoff toolbox talk (10 min), symptom card handout, fit-testing calendar
Week 2: Micro-module at stations (5 min): “Low-dust dumping” + one-on-one coaching
Week 3: Observation + feedback (2 min per person), fix physical barriers (broken seals, airflow marks)
Week 4: Mini-drill: “Spot the breach” walkthrough; prize for cleanest station & best buddy-check compliance
Measure what matters:
- % cage changes performed inside HEPA station
- Respirator use & seal checks observed
- Dust plume reduction (simple visual scoring or particle counts if available)
- Symptom reports trend (up means speak up, down means controls working)
Quick Reference: Symptoms → Immediate Actions
| Symptom | When it Appears | Immediate Action | Follow-Up |
|---|---|---|---|
| Itchy/watery eyes | During cage changes | Step out, eye wash if needed, hand hygiene | Report to supervisor; log task details |
| Sneezing/runny nose | In animal room | Move to clean area, replace mask | Occupational Health evaluation; consider N95 fit check |
| Skin rash/hives | After handling | Wash exposed skin, change gown/gloves | Review gowning SOP; add sleeve covers |
| Cough/wheeze/chest tightness | During/after work | Stop task, seek medical help if severe | Medical surveillance review; consider P100/PAPR and task re-assignment |
Implementation Checklist (Print & Post)
- Negative pressure verified; airflow smoke tested this quarter
- IVC airflow within spec; seals/gaskets intact
- HEPA change-out and BSC certification up to date
- Cage changing inside HEPA/BSC; sash height marked
- Bedding dampened or low-drop disposal method used
- PPE stocked at entry: N95/P100, gowns, sleeve covers, eye protection
- Buddy checks before high-exposure tasks
- Symptom cards posted; easy reporting link/QR
- Micro-training calendar for next 90 days
Conclusion
Lab animal allergies are preventable when facilities tackle exposure at the source and make the right behaviours easy and automatic. Start by recognising early warning signs, then lock in engineering controls—from negative pressure and HEPA-ventilated cages to cage changing stations and dust-smart methods. Back this up with clear SOPs, reliable PPE, and training designed for memory and action, not just compliance. Measure what matters, fix friction fast, and keep communication open so small symptoms don’t grow into lifelong asthma. With this approach, your staff can do world-class science safely.
FAQ
Q1. Which tasks create the most allergen exposure?
Cage dumping and bedding changes, handling of adult males, soiled cage transport, dry sweeping, and room cleaning without local exhaust are top drivers. Use HEPA-filtered changing stations, damp methods, and sealed carts.
Q2. Do I need a respirator if I already use IVCs and a BSC?
Yes for higher-risk tasks or if you’re symptomatic. N95 is typical; move to P100 or PAPR for heavy-dust procedures or per Occupational Health guidance.
Q3. Can symptoms go away on their own?
They may ease when away from work, but repeated exposure can worsen allergies and lead to asthma. Report symptoms early and adjust tasks/PPE until evaluated.
Q4. What metrics show our program is working?
Higher compliance with in-sash cage changes, fewer observed dust plumes, up-to-date BSC/IVC certifications, steady PPE availability, and a decline in new or worsening symptom reports.


